
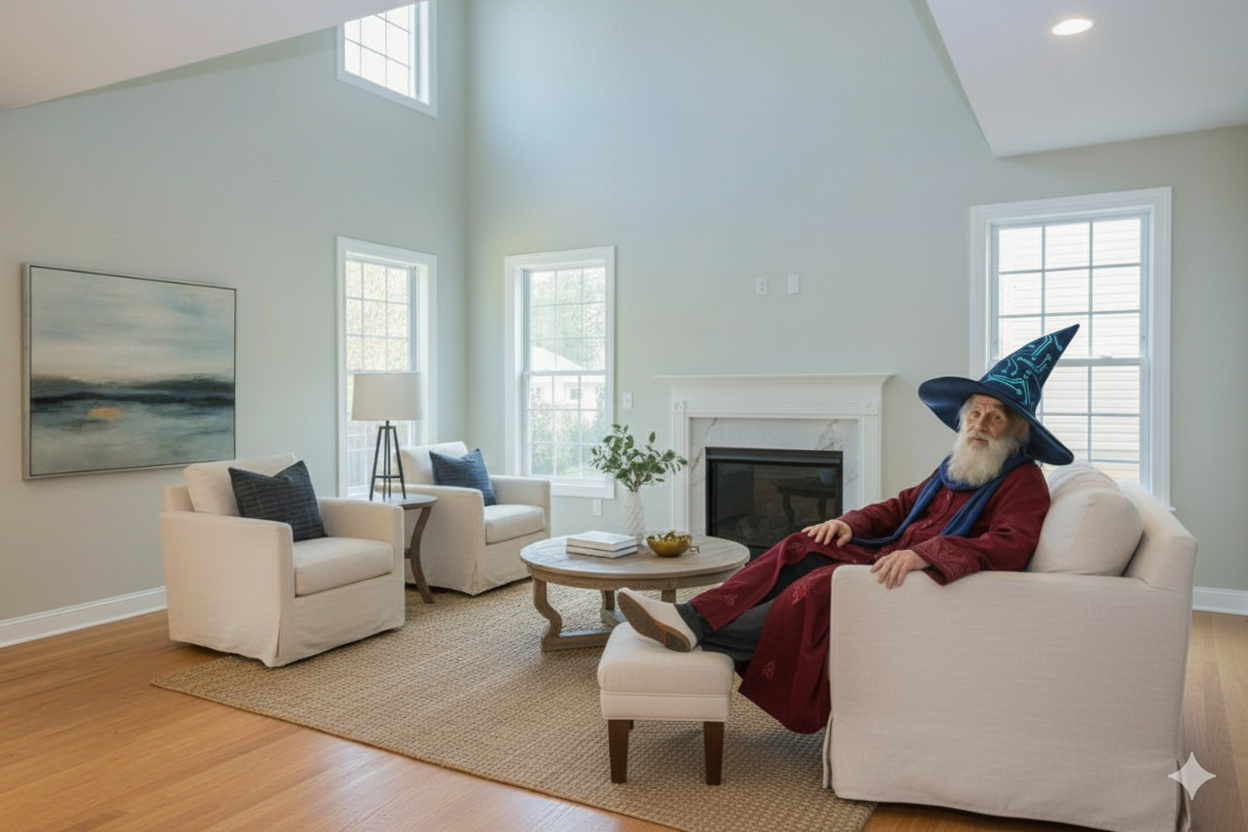
Virtual staging adds digital furniture and decor to a photograph of a real room. It can show a possible furniture layout without moving physical furniture into the property. The home itself stays as it is; the furnished image is a visualization.
For a vacant listing, the useful question is specific: can this image help someone understand where a sofa, dining table, or bed could fit? A successful result answers that question while preserving the property’s actual layout and condition.
What virtual staging can—and cannot—show
Furniture, rugs, lamps, and artwork can give an empty room a recognizable purpose. A compact desk can illustrate a workspace, and a dining arrangement can explain an open floor plan. These are proposed uses, not measurements or promises that a particular product will fit.
Changing windows, removing walls, replacing fixed cabinetry, hiding damage, or inventing an outdoor view changes the property representation. Treat renovation concepts separately from ordinary furnished listing photos and label them accordingly. AI can make these changes unintentionally, so every result needs inspection.
When it is a useful option
- Vacant rooms: show one realistic layout while retaining the original empty photograph.
- Unclear spaces: give a bonus room one plausible use without describing it as a bedroom unless that classification is accurate.
- Occupied interiors: consider whether a few targeted edits would be more useful than replacing an already clear, attractive furniture arrangement.
Physical staging also changes the in-person experience. Virtual staging changes the image, so visitors will still encounter the actual empty or occupied room. Choose the approach around the property, marketing needs, and available time rather than assuming one method always performs better.
A repeatable photo-to-listing workflow
- Choose a clear original. Use a sharp photograph with straight verticals, visible doorways, and enough floor area to understand the layout. Keep an untouched copy.
- Pick one purpose. Decide what the room needs to explain before choosing a decorative style.
- Describe the furniture and constraints. Specify a modest arrangement and name the architectural details that must remain.
- Generate, then compare. Inspect the original and result side by side. Correct one problem at a time rather than accepting an attractive but inaccurate result.
- Prepare the gallery. Clearly identify the image as virtually staged, keep the original available, and check the publishing destination’s current requirements.
An example staging instruction
Furnish this vacant living room with a compact sofa, one armchair, a low coffee table, and a neutral rug. Keep the path between both doorways open. Preserve all walls, windows, flooring, fixtures, the exterior view, and the original camera perspective.
This is a starting instruction, not a guarantee that the generated image will obey every constraint. Check furniture scale, shadows, reflections, door swings, and any repeated objects before publishing. A second camera angle can expose inconsistencies that are easy to miss in the first.
Budget for the review process
Allow for revisions as well as initial generations. A finished image may take more than one attempt. Compare the total cost of usable, approved images rather than treating every generated result as a deliverable. See our virtual staging cost guide for a worked example.
Staging Wizard lets you start with Wizard’s Choice or your own staging instructions and refine an area with Magic Wand. The product FAQ explains the current controls. For a difficult layout, start with our open-plan staging guide.
Virtual staging can make a proposed room arrangement easier to understand. It does not guarantee more inquiries, a higher sale price, or a faster sale.


