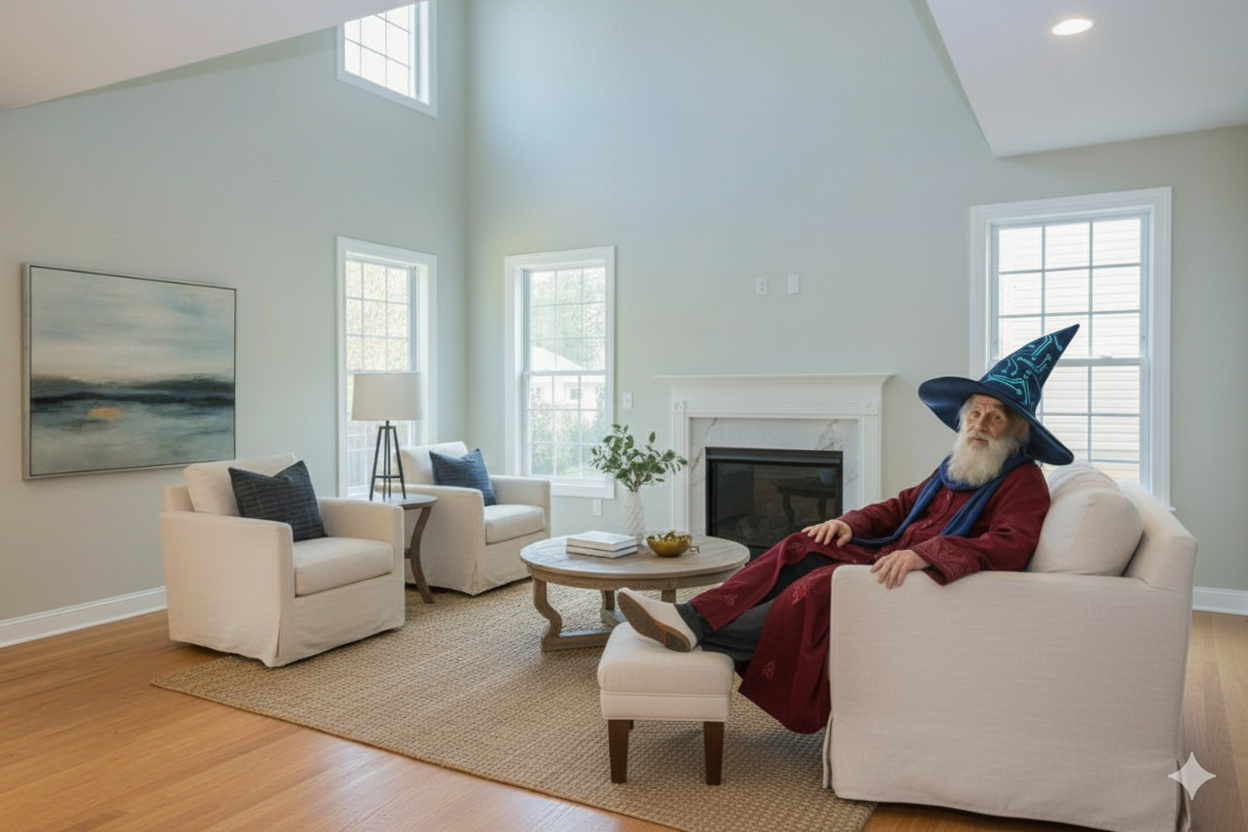

An alcove is useful only if the suggested furniture can fit and people can reach it. Before adding anything digitally, identify the recess’s depth, the nearby traffic path, and what the photograph actually shows.
Choose one use from the available space
- Shallow wall niche: use a restrained decorative object or artwork if the existing surface supports it. Do not make the recess deeper.
- Desk-sized recess: consider a freestanding writing desk only when there is room for a chair to pull out and someone to pass behind it.
- Corner beside a window: try one compact reading chair and a small side table, with the window and passage kept clear.
- Stair landing: prioritize circulation and access. Leaving it open may be the best choice.
These are design possibilities, not proof of fit. Measure the space when possible and compare proposed furniture dimensions. Avoid interpreting a wide-angle photo as a floor plan.
Distinguish furniture from a renovation concept
A freestanding bookcase suggests a furnishing option. Digitally inserting wall-to-wall cabinetry, a built-in desk, or a wet bar implies work that may not exist. Keep those concepts separate and clearly labeled rather than mixing them into an ordinary staged listing image.
For an existing shelf or bench, preserve its shape and condition. A few accessories can explain its use without replacing the feature itself.
A simple prompt for a reading corner
Place one compact reading chair in this recess, angled toward the room, with a small side table beside it. Keep the hallway completely open. Preserve the recess dimensions, window, outlets, floor, trim, and original lighting. Add no cabinetry or new architectural features.
If a desk is the better choice, request a small freestanding desk instead and explicitly reserve space for the chair. Generate one function at a time; a combined office, reading area, and storage zone usually asks too much of a small footprint.
Use the surrounding room as context
Keep the nook’s colors and furniture style consistent with the larger room. Show enough of the surrounding space for the viewer to understand where it sits. A close-up can accompany a wider image, but should not be the only evidence of a workable layout.
For a loft nook, preserve visible railings, sloped ceilings, and access routes. Do not use digital furniture to hide a low ceiling or make a landing resemble a separate enclosed room.
Review details at full size
- Check the chair, desk, or table against visible doors and baseboards for plausible scale.
- Look at furniture legs and shadows for floating or intersecting objects.
- Confirm that outlets, vents, and access panels remain visible where appropriate.
- Compare the empty and furnished views for changes to the niche’s width or depth.
- Label the visualization and keep the original photograph available.
If the result depends on making the space larger, remove the furniture and use a simpler treatment. Not every recess needs a new function.
For a whole room with several possible uses, read the bonus-room guide. For connected living and dining areas, use our open-plan layout checklist.